Detailed Guide
Click on any of the images to make them full screen and then hit the back in your browser to return to the guide.
Log-on to Computer
Using the username and password your instructor provided, log into Windows.
Plug in the stylus
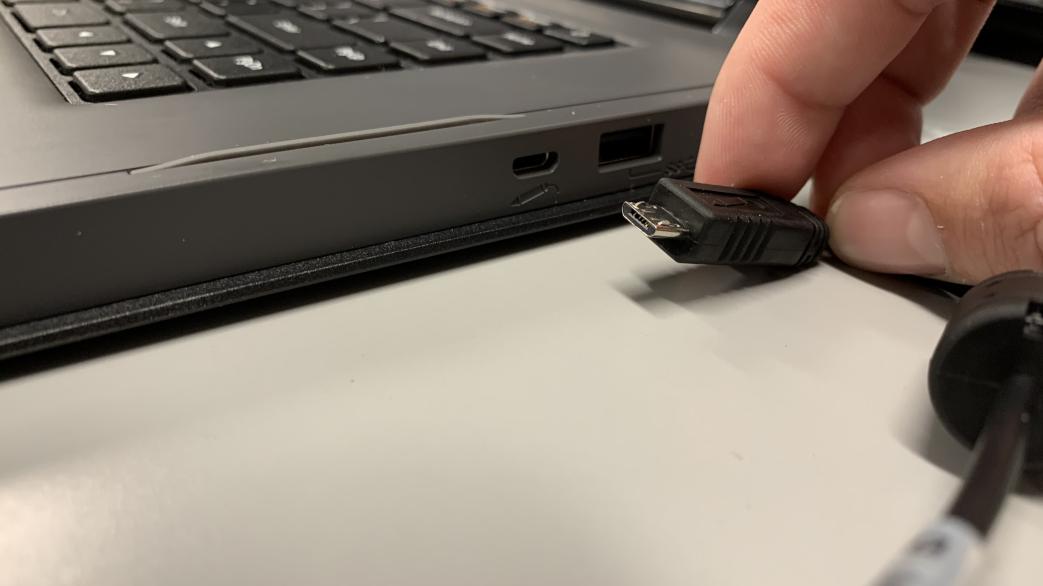
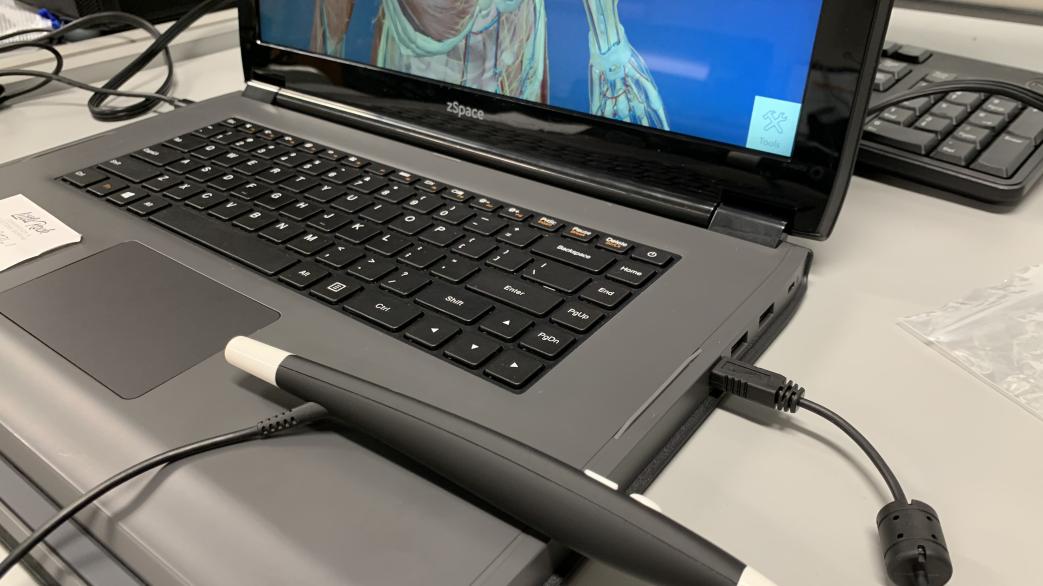
Using the port on the side of your computer plug the stylus into the computer. The USB only connects one way. Make sure that the orientation you are plugging the stylus in is correct.
Open the zCentral app
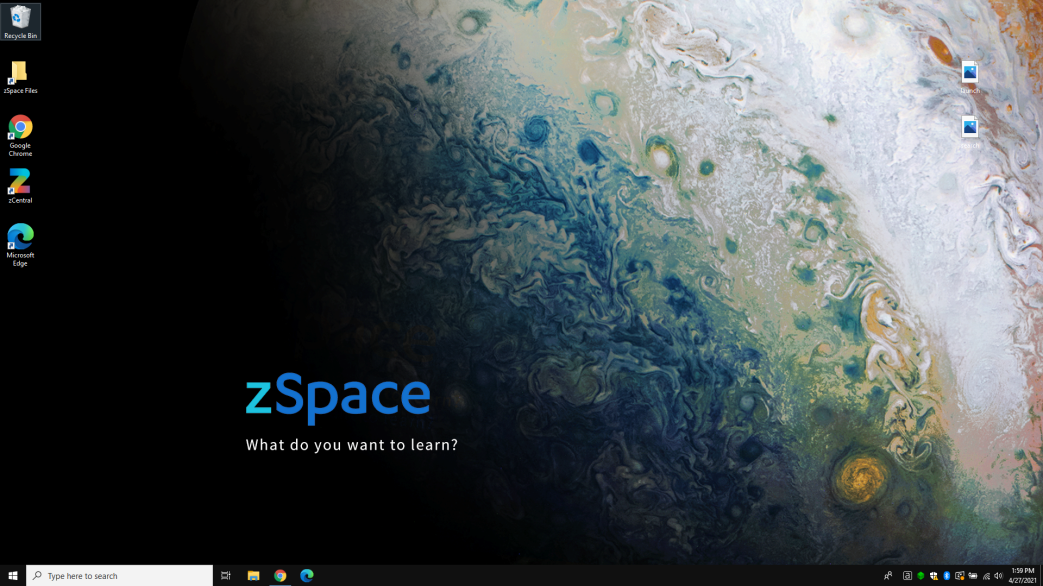
The icon is a big Z and will be saved on the desktop. If the app is not install on the desktop use the windows search bar at the bottom right of your screen and type in “zCentral”. Double left click on the app to start.
Open Visual Body Human Anatomy Atlas
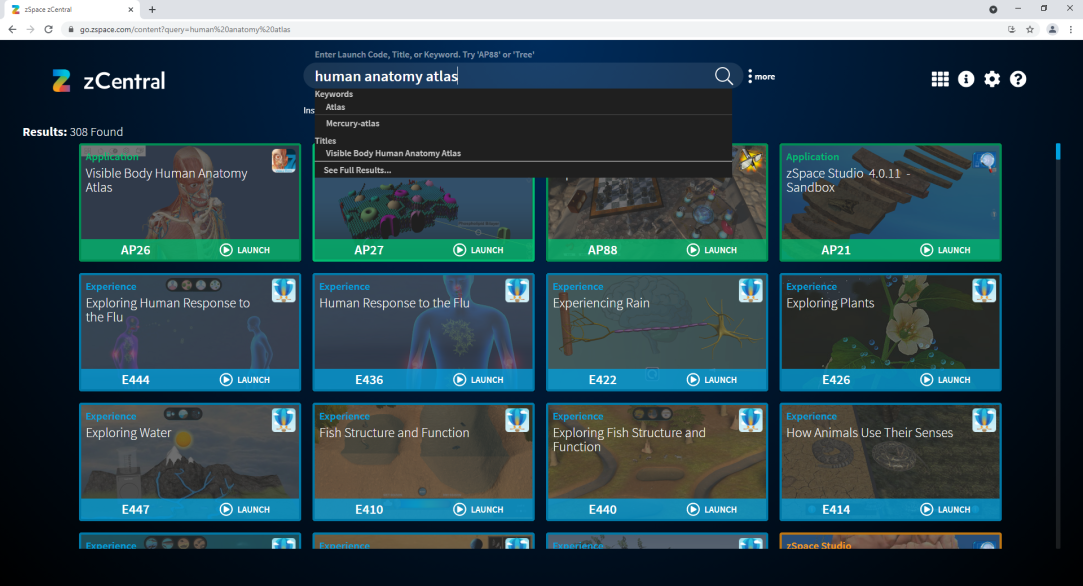

Search for human anatomy atlas in the search bar the first result should be “Visual Body Human Anatomy Atlas” click on the launch button. Your web browser might ask if you would if you would like to “Open zSpace Web Support Service Native Tool?” click the button that say “Open zSpace Web Support Service Native Tool”.
Put on the zSpace glasses
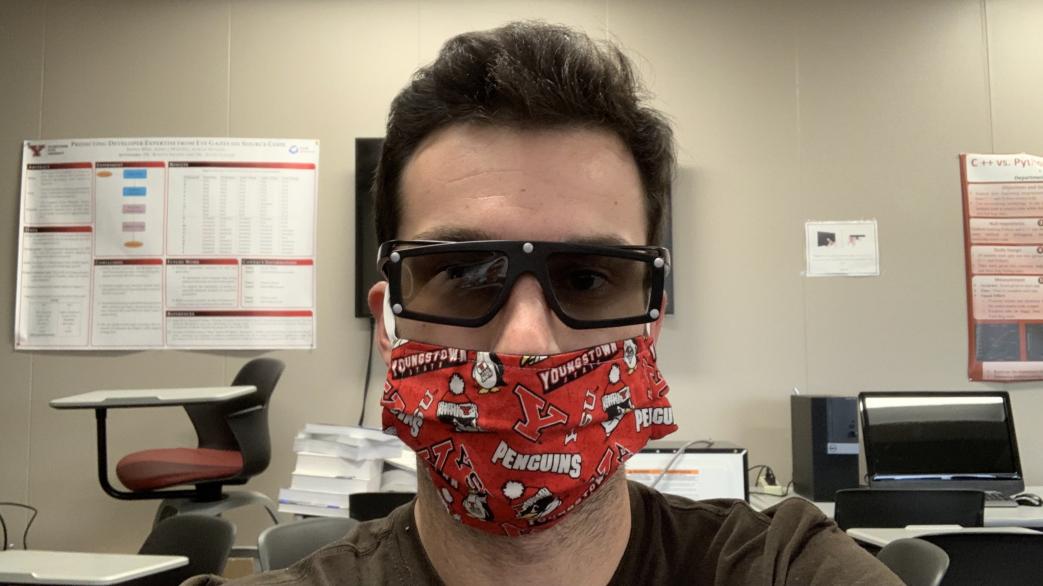
Place the glasses on your nose and wear them as you would normally wear glasses. If you already use prescription glasses, place them over your normal glasses.
Pick up the stylus
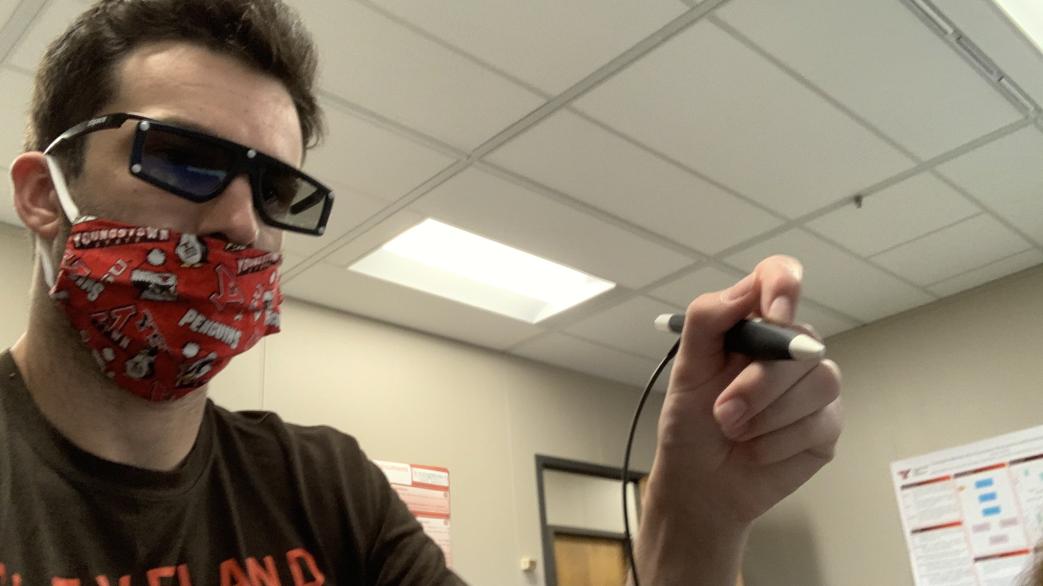
Pick up the stylus with the buttons near your thumbs. Direct the stylus towards the screen and you will see a beam extend from stylus this beam will be how you interact with the program.
Movement Button
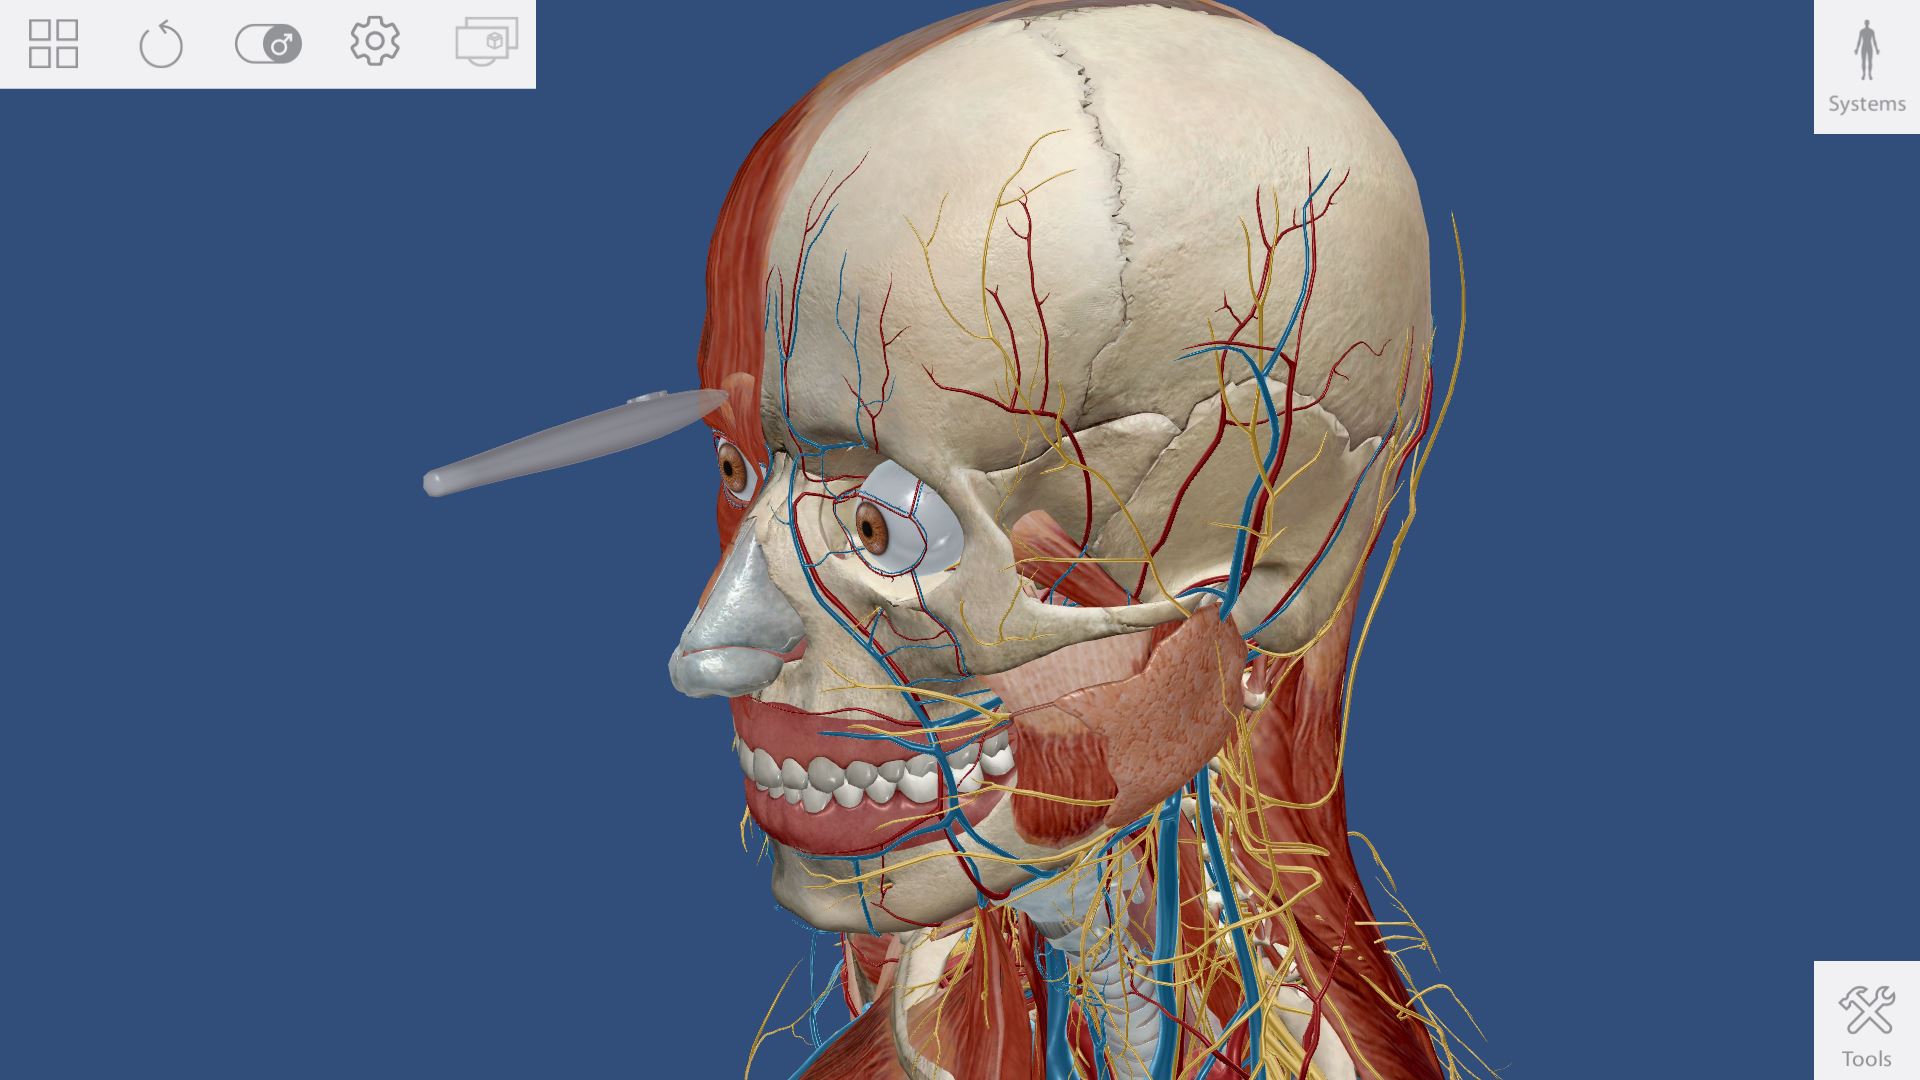
The center button on the stylus will allow you to grab and reposition the model. Place the stylus over the model and press the big front button to grab hold of it. Now you can move the model in any direction in the X, Y, and Z axis. To reposition the model, move your hand up, down, left, and right to reposition the model. Twist or rotate your wrist to spin the model.
Zoom Button
The right button on the stylus will allow you to zoom in or out. Place the stylus over the model and press the right button and move your hand closer and further from the screen this will allow you to zoom in or out.
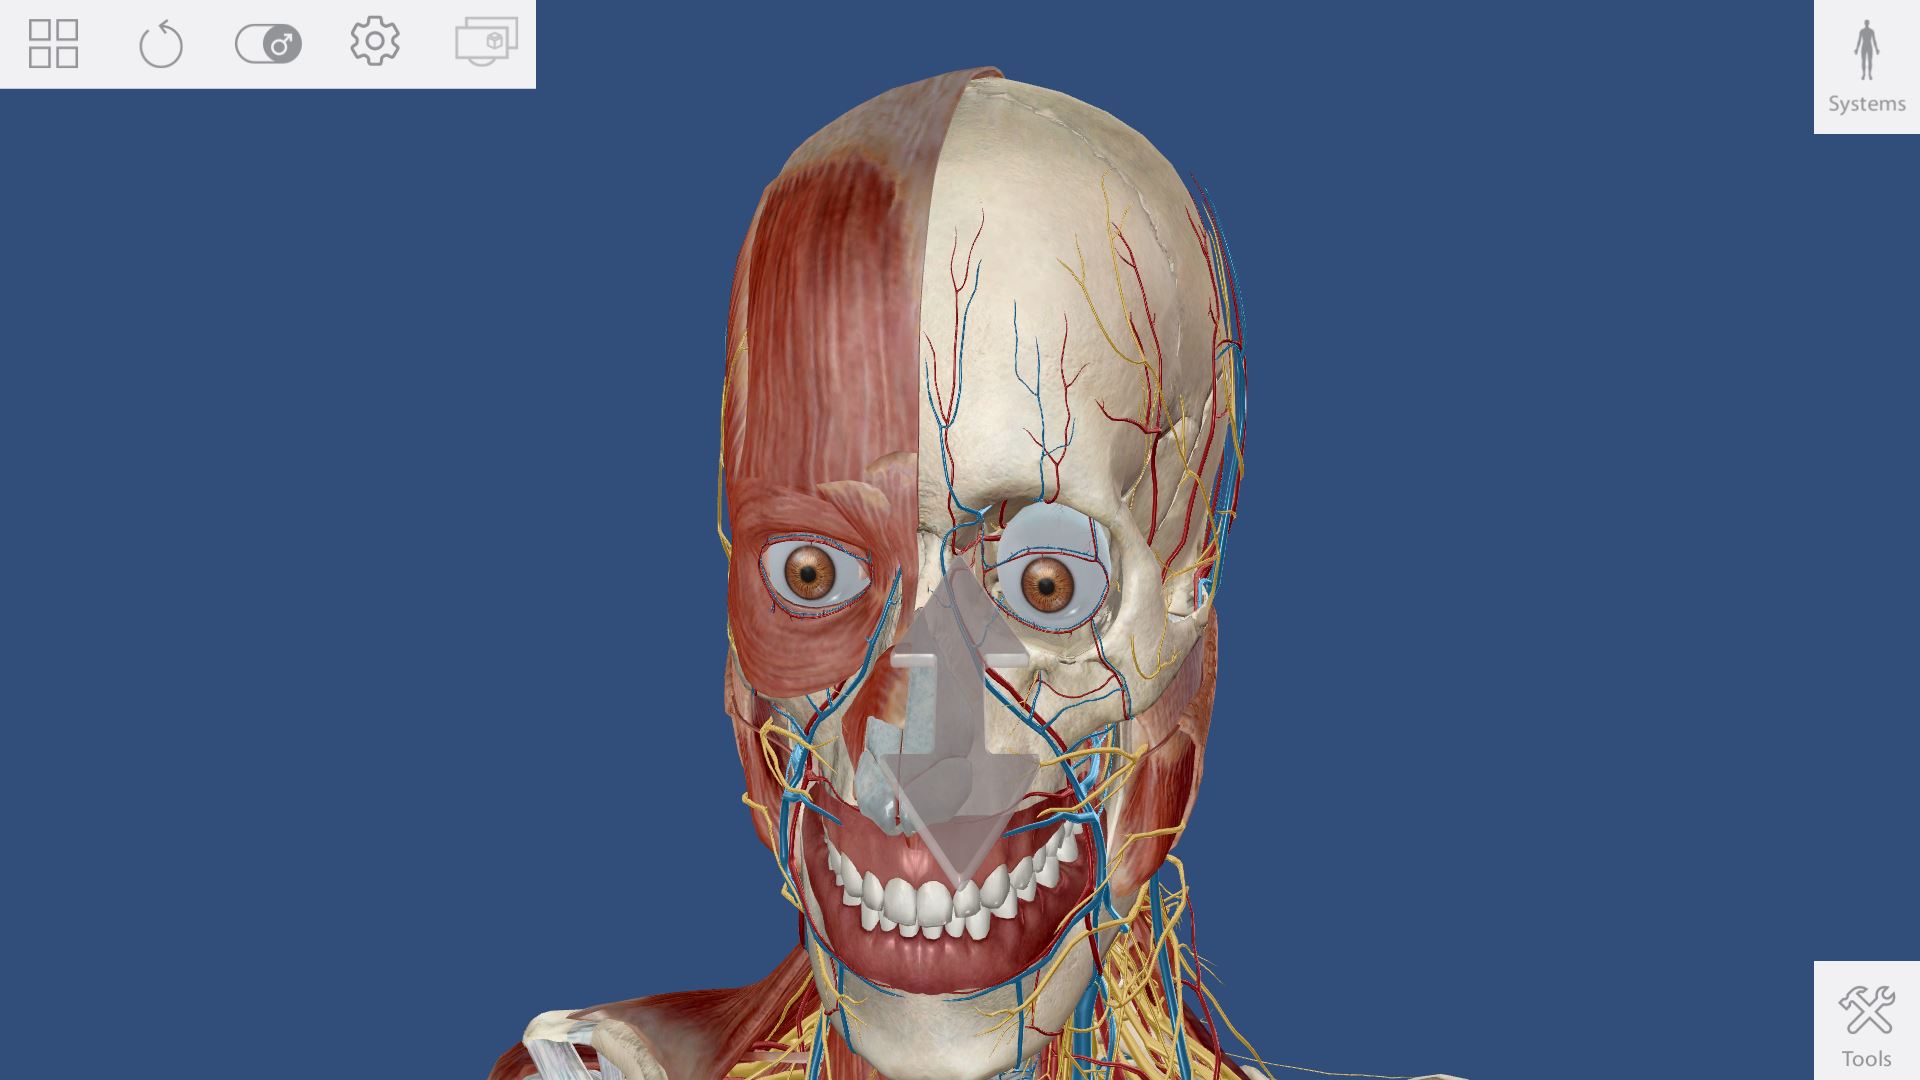
Select Button
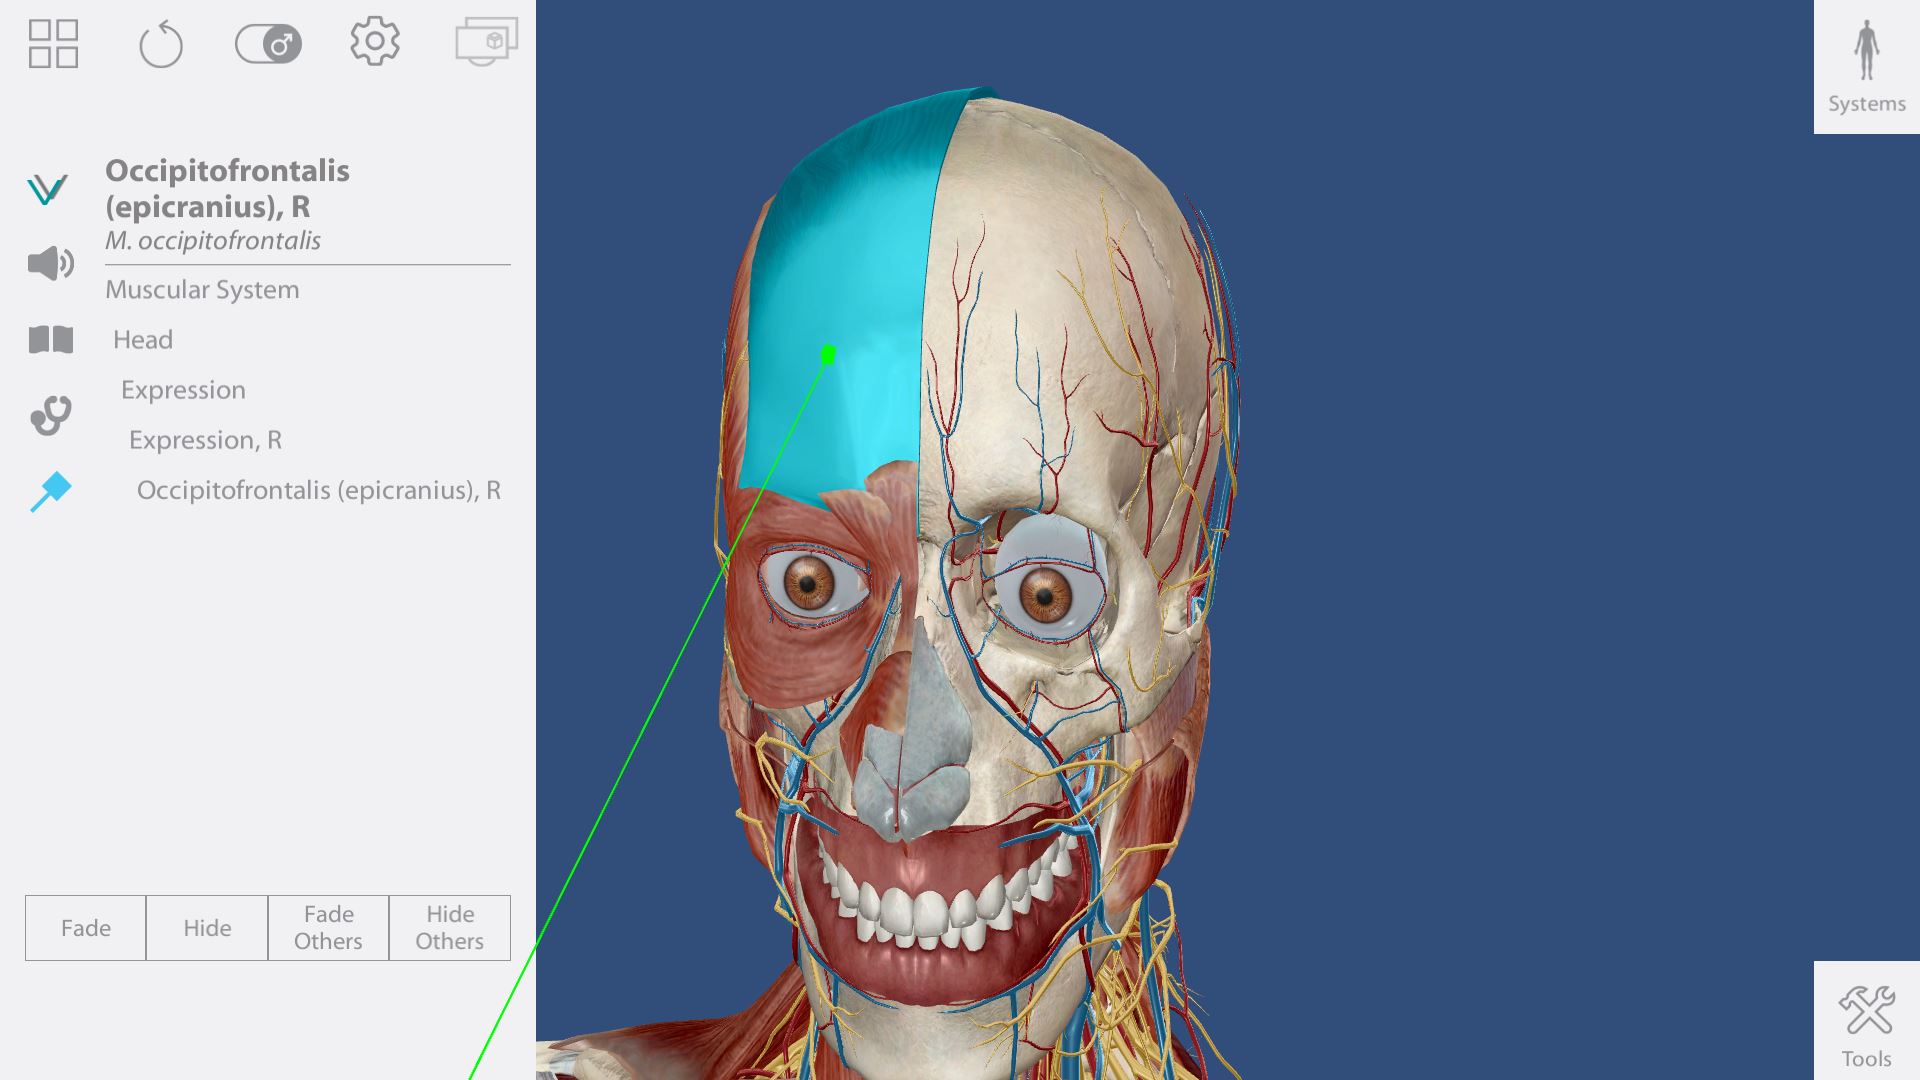
The left button on the stylus will all you to select a structure. Place the stylus on any structure and press the left button to select the structure. A window will pop out to your left and you will see many useful things about your selection including name, pronunciation, hierarchy, definition, common illness or injuries, boney landmarks, muscle origin and insertion points, as well as muscle actions. Also, this is where you can hide a structure or hide others to only that structure is in view. Their are also options for fade and fade others this is similar to hide but instead of removing it from view the structure has less transparent.
Systems Menu
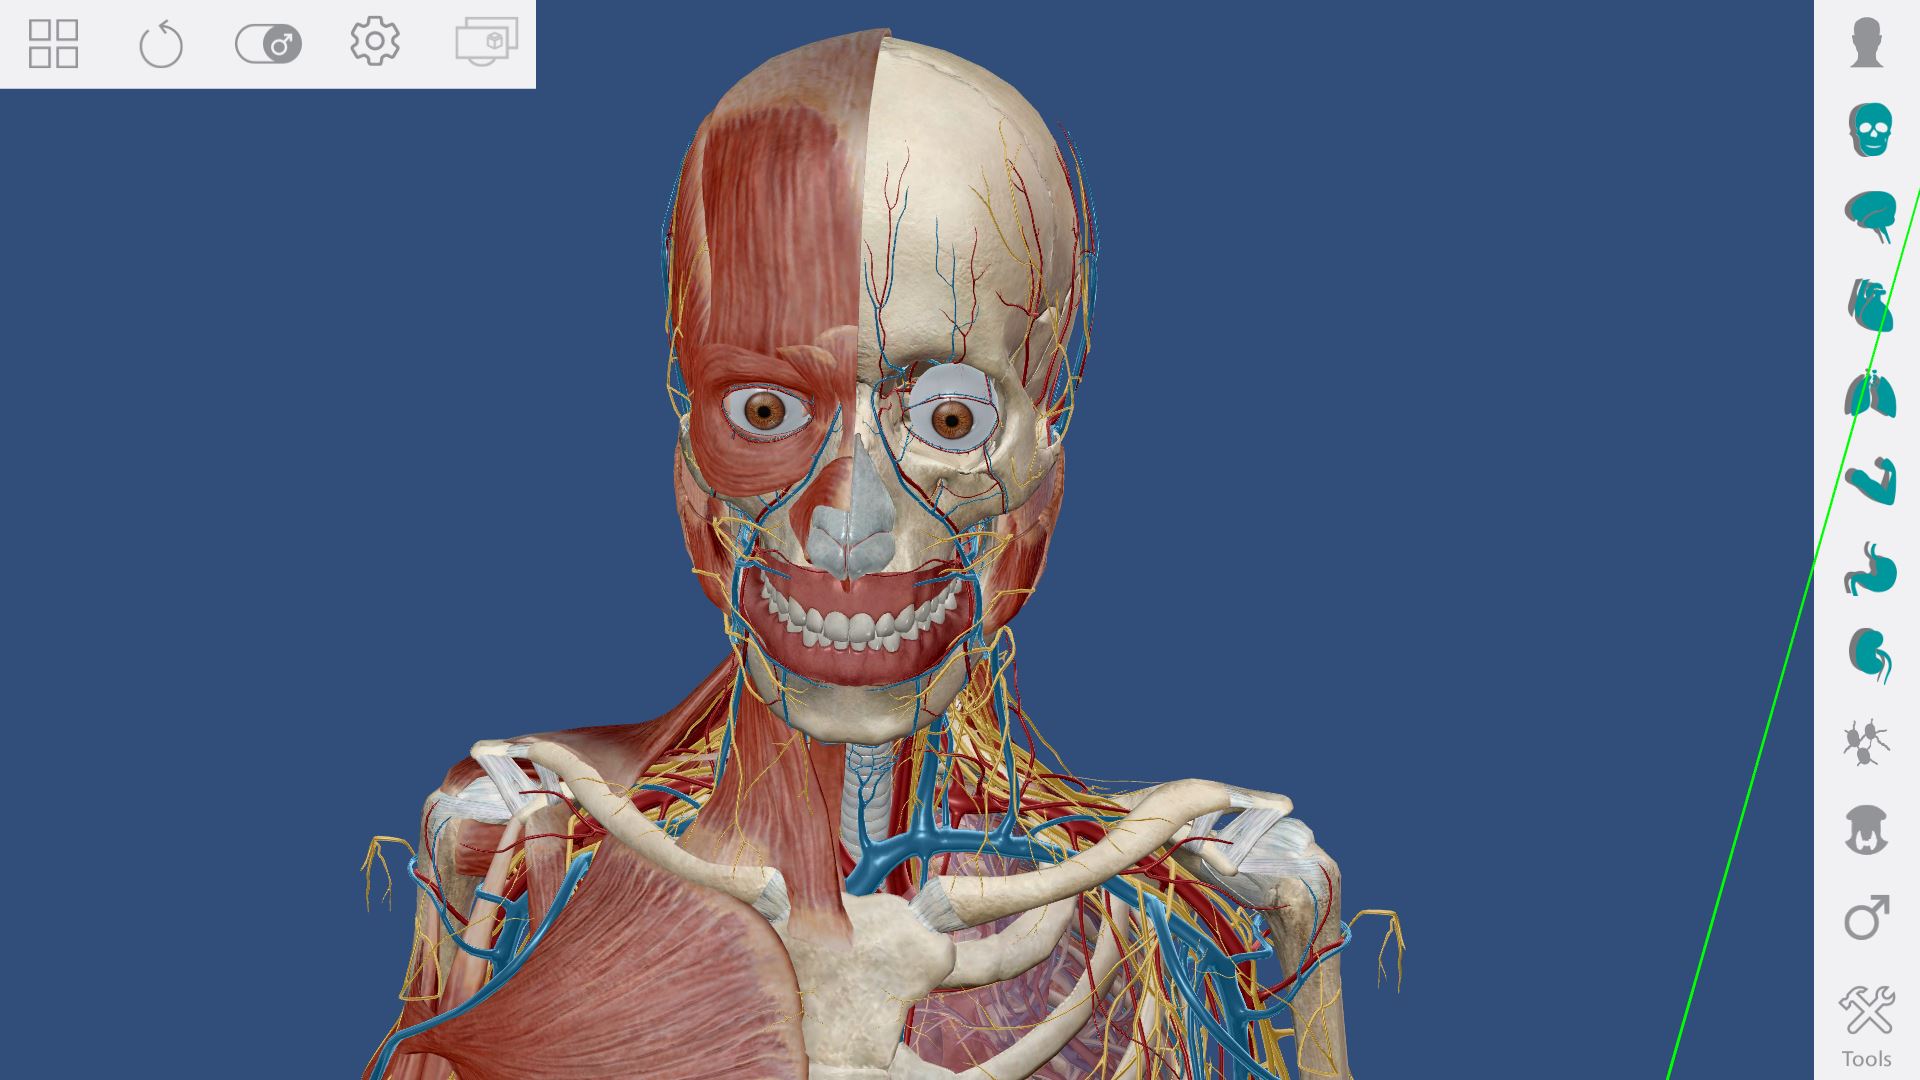
The systems menu is a menu where you can easily show or hide any system just by clicking on it. The user can mix and match which systems they want to see.
Tools Menu
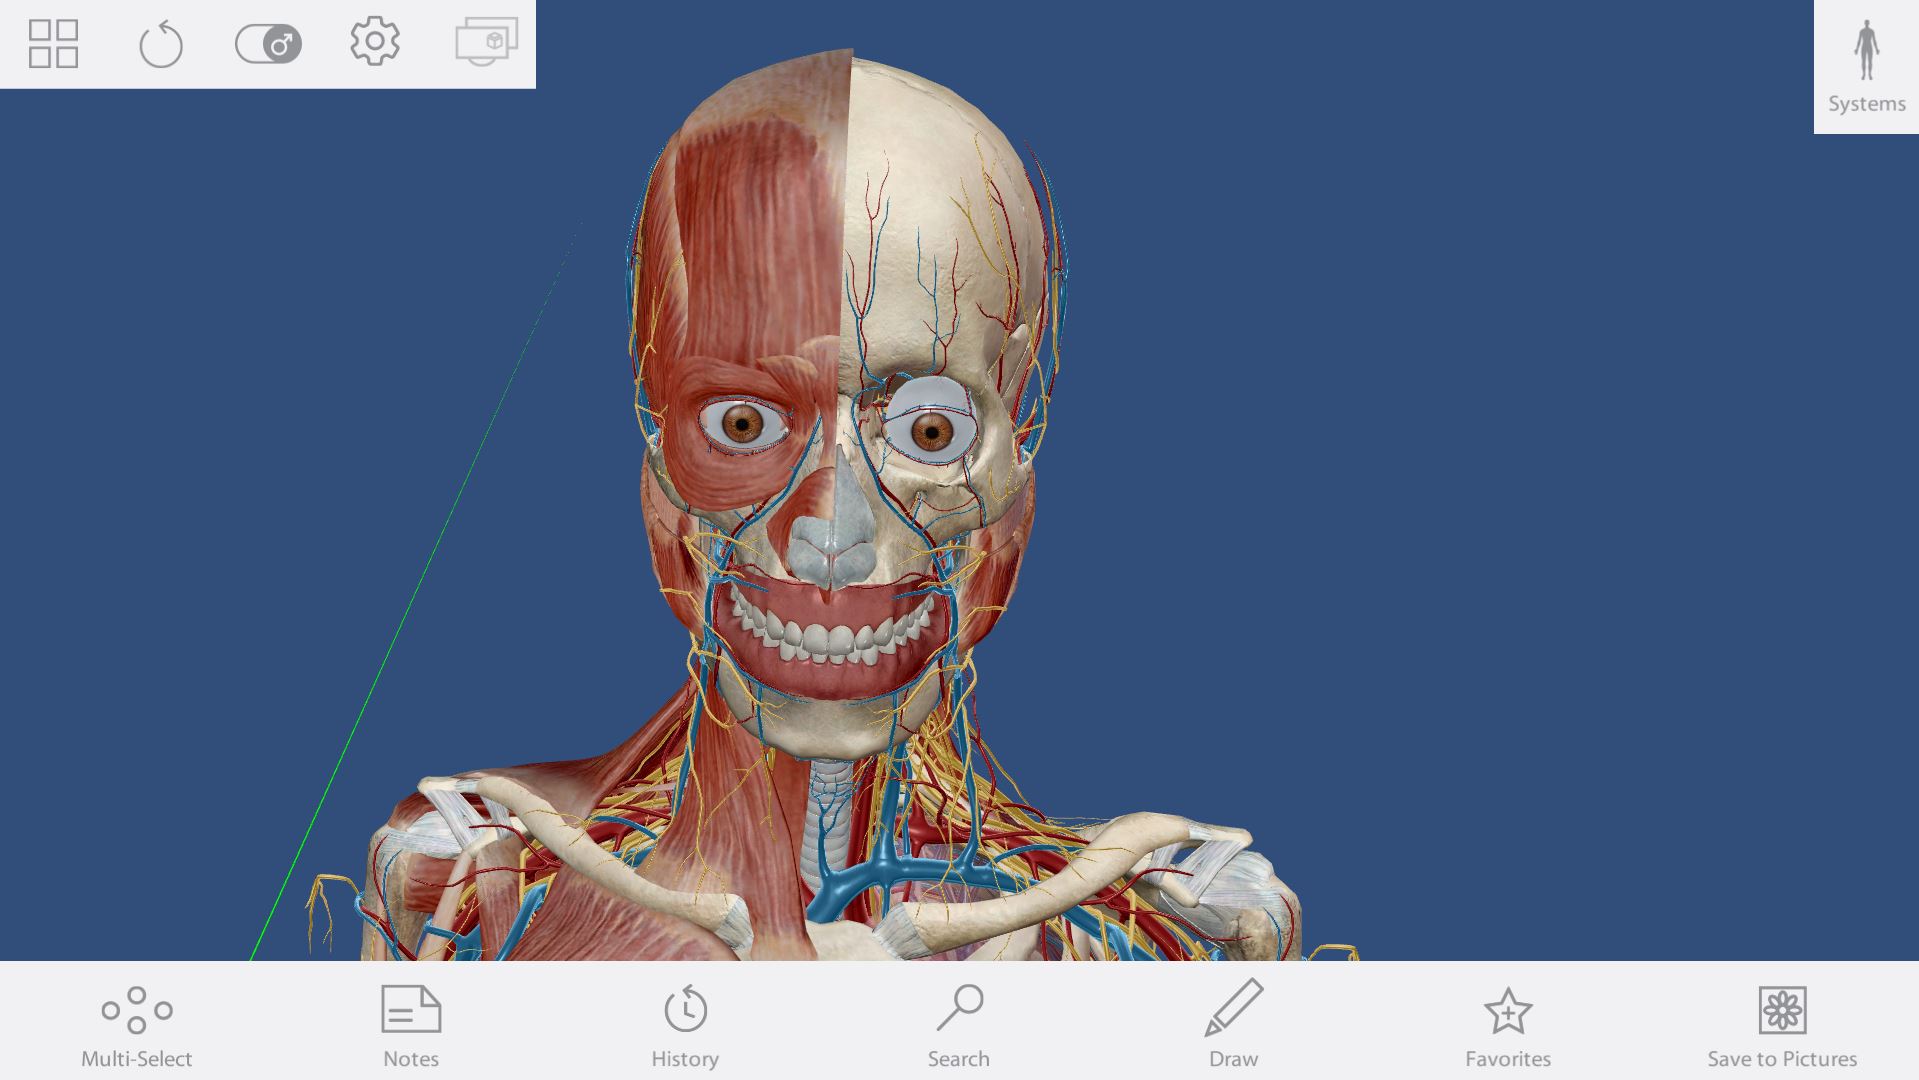
The tools menu contains many useful tools you will need to make your experience easier. Here you will find the multi select, notes, history, search, draw, favorite, and save to pictures tools.
Main Menu
With in the main menu you will find 3D view, quizzes, media, favorites, and notecards.
3D Views
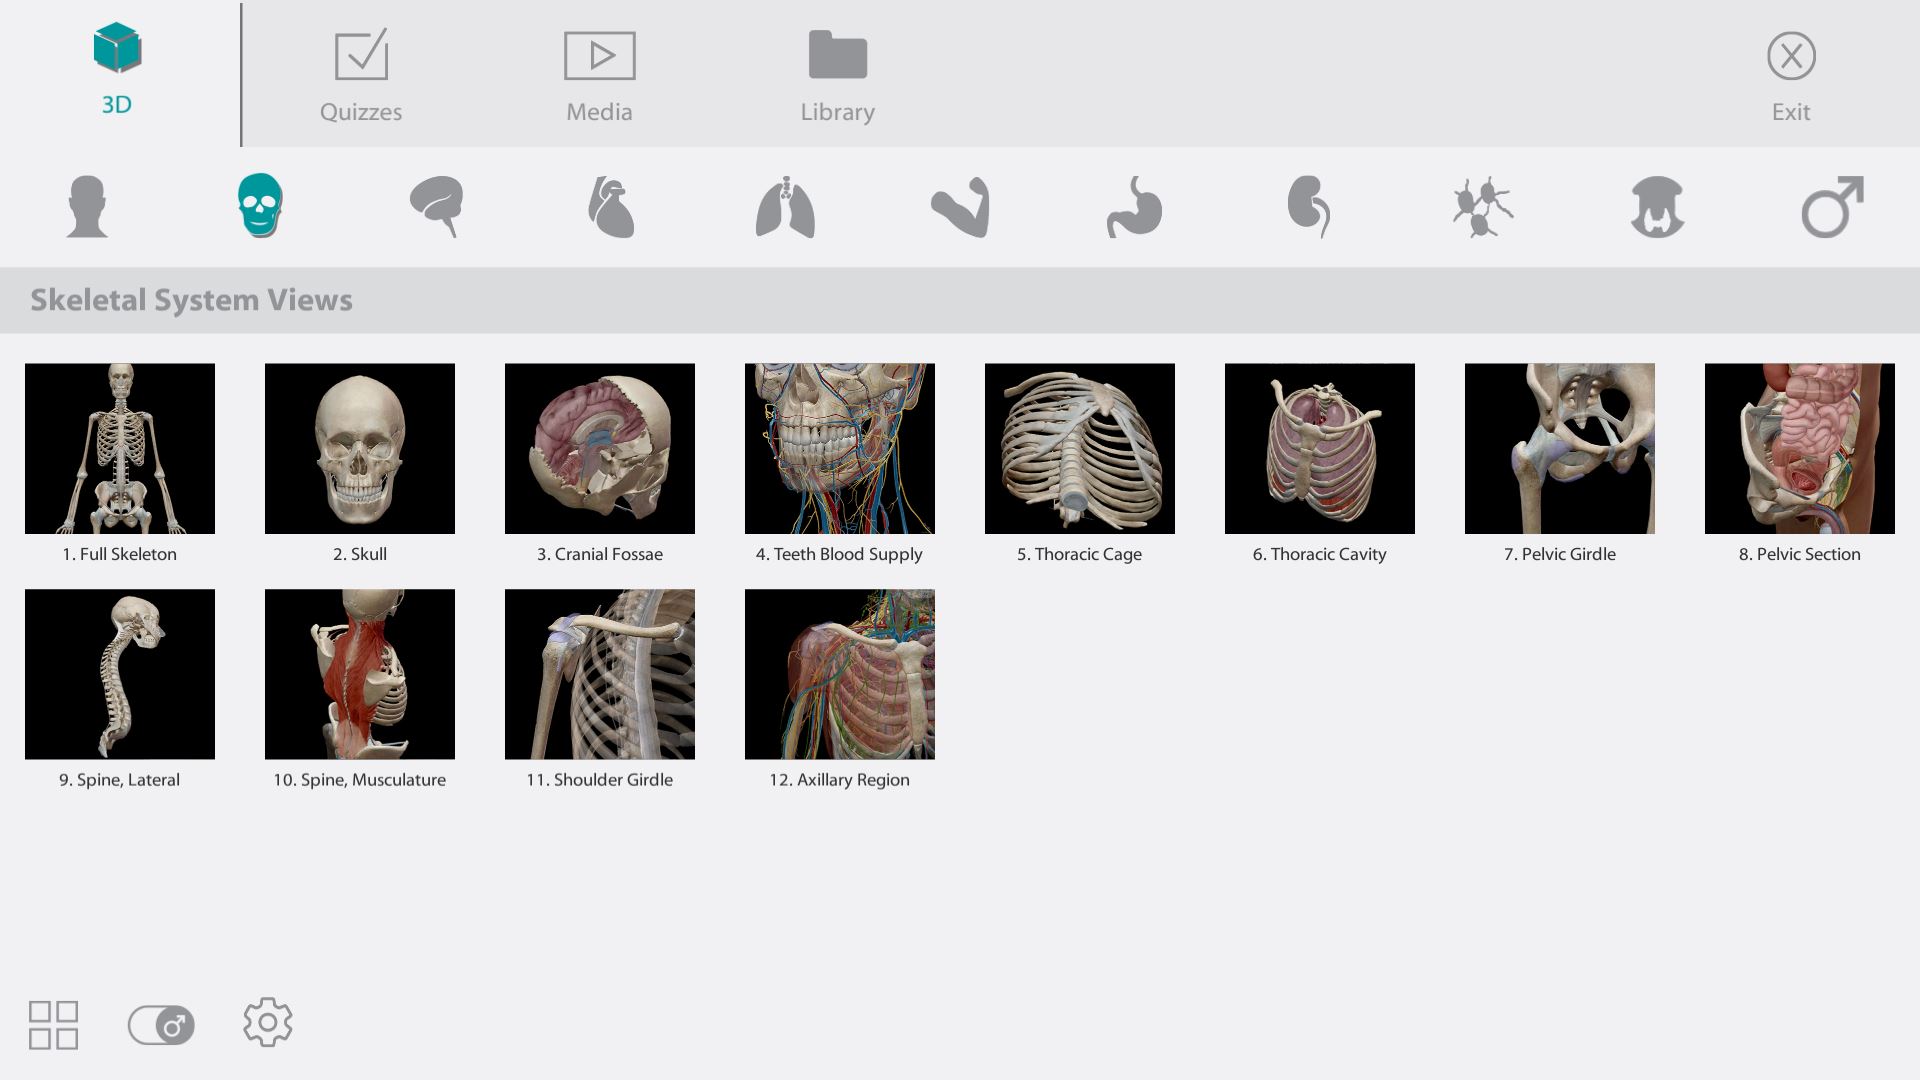
Ensure that you have the 3D tab selected the icon looked like a cube. Once the 3D tab is selected you will notice that there are eleven sub tabs each representing a different type of the body. The next thing that must be done is that you choose one of the eleven sub sections. After you have chossen one of subsections the next step you must do is chose one of the many different parts of the body that Human Anatomy Atlas has given the user. After you had made that choice, the only thing left to do is using the pen or mouse click or select the section you have picked. After this you are free to exlpore the body part or section you have picked.
Quizzes
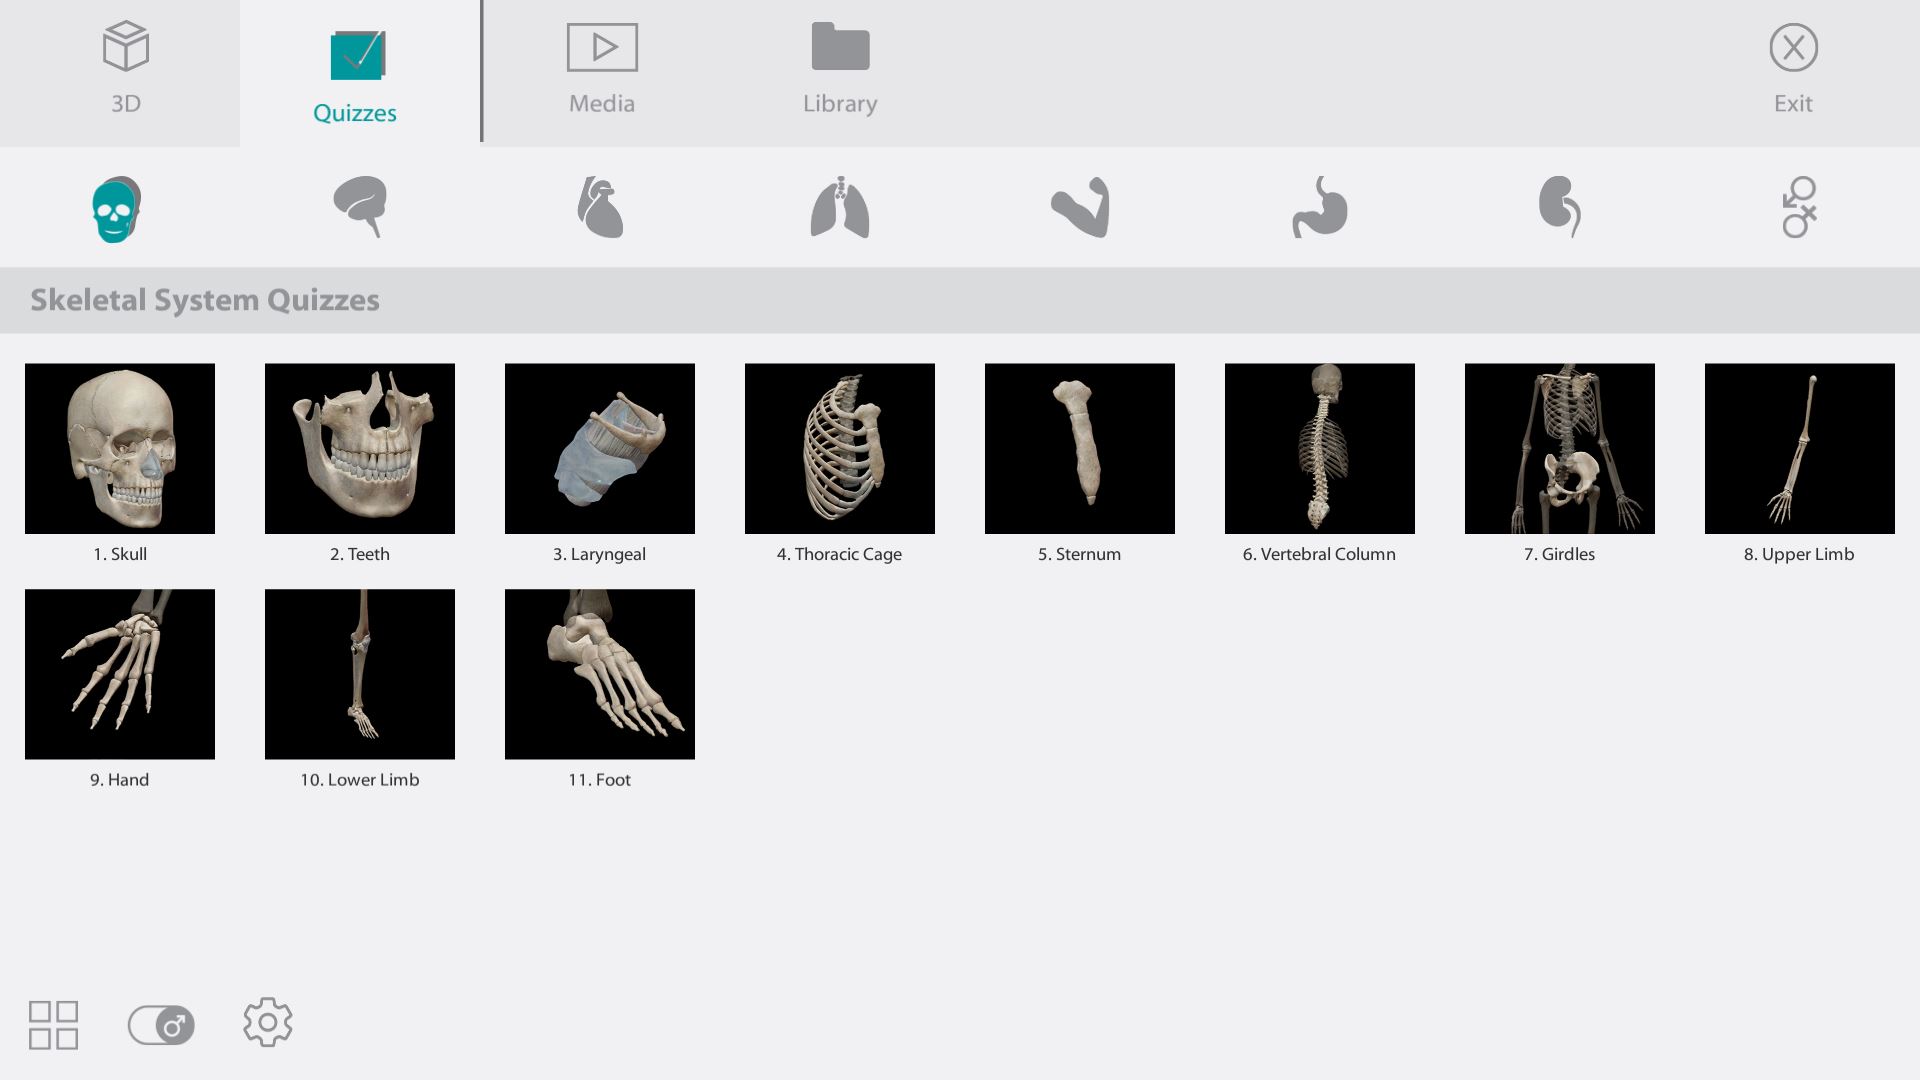
When trying to gain access to the quiz section you must select the tab selected Quizzes tab that's icon that looks like a check mark. Once the Quizzes tab is selected you will notice there are nine different sub sections. Each sub sections are a different part of the body that Human Anatomy Atlas allows you the user to be tested on. Depending on which subsection the user has selected the user will have an option to be tested on the many different types of the body. The next thing that needs done is the user will select which part the user wants to be tested on and select the chosen section. The next thing the user will see is the selected body part and will be asked to use the pen to select a certain part of the body to test their knowledge. The user will be given three attempts to select the correct answer before the user is shown the answer.
Media

The third section or part of the menu is the Media where the user can see how the body is supposed to move and see the correct muscle group in action. To gain access to this section the user must select the sub sections that is called Media that as a box icon with a play button in the middle. After this is selected there are seven different sub sections that the user has at their disposal, so the user then has the choice to select one the seven section. After this is done the user will many different angels and the numerous different muscles in action so the user must select the one that is desired. After the desired one is selected a video will appear that will begin playing in an endless loop that shows the user how the muscles work and its range with a play pause and loop button.
Library
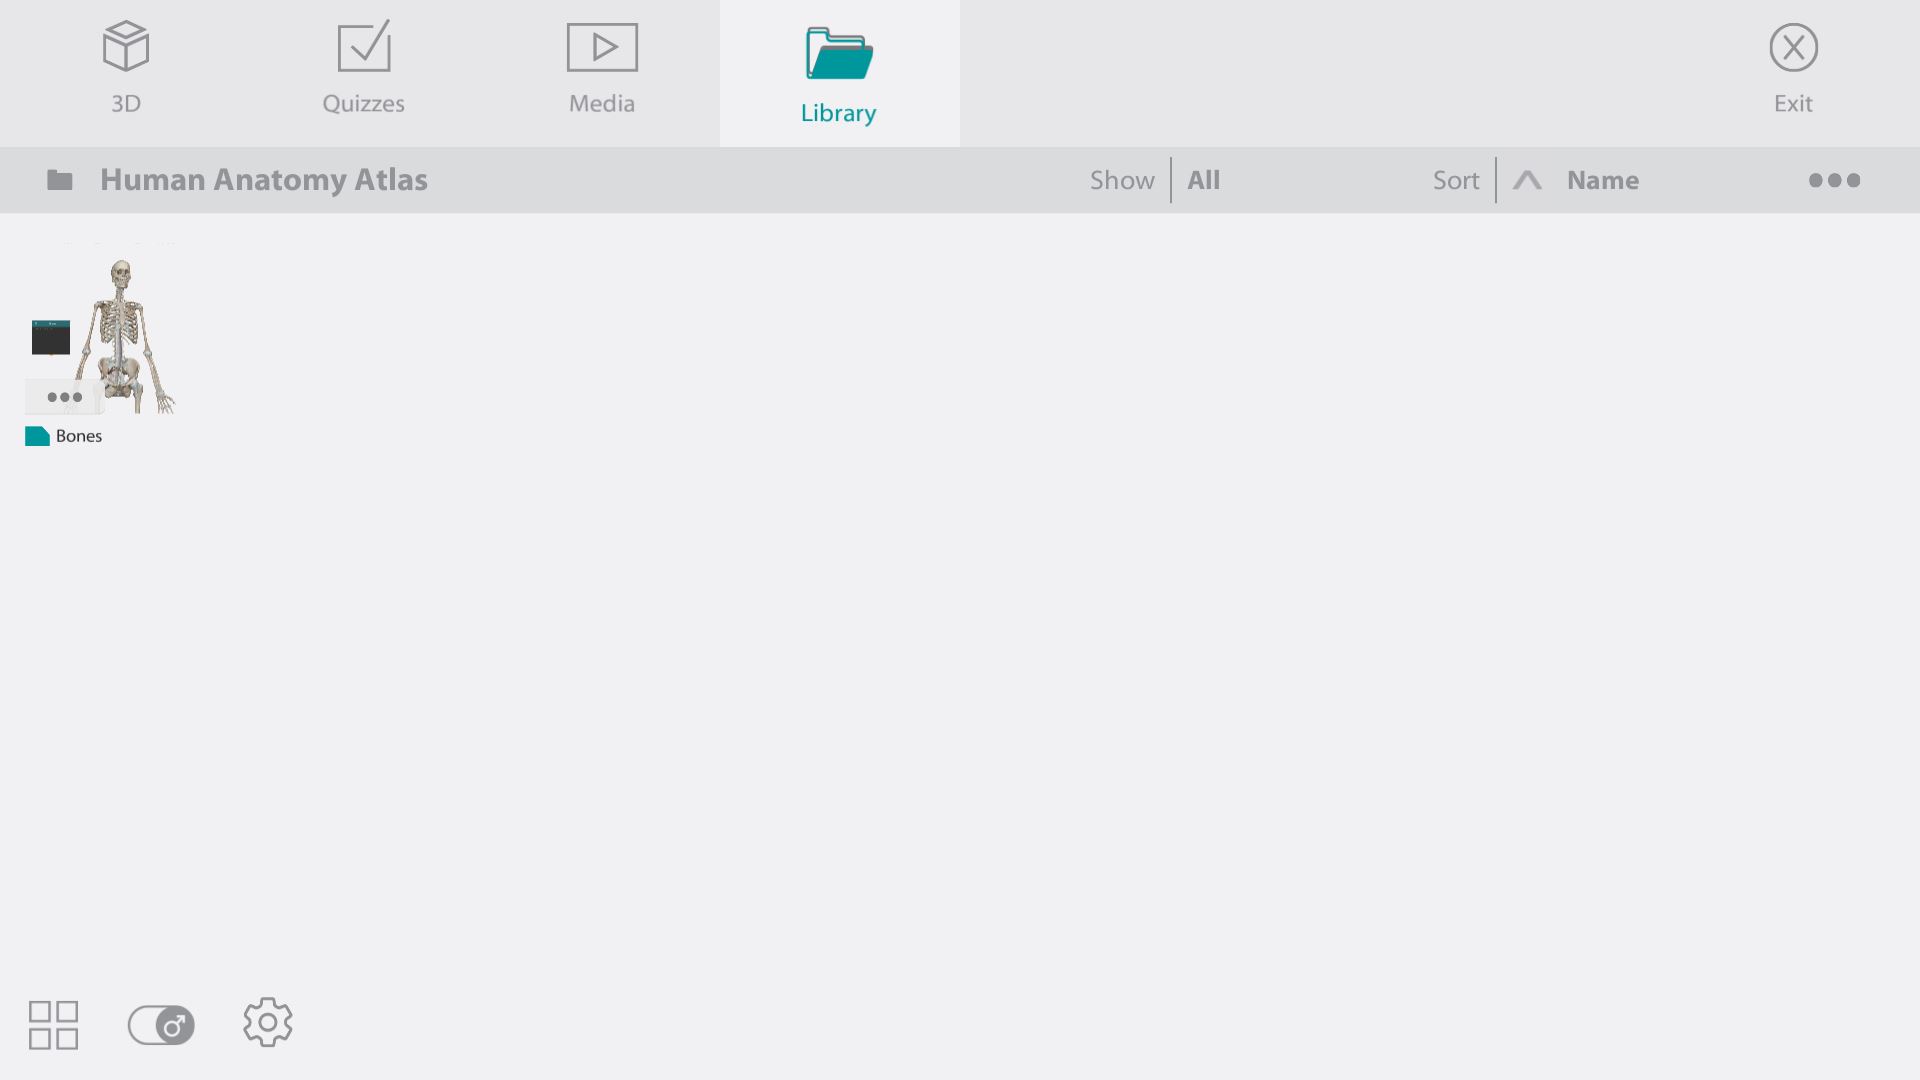
To gain access to the final tab you must select the tab that has an icon that looks like folder and select it. After that the user will be able to see what note card have been made and what the user has selected as their favorite. To access this information all, the use must do is select the notecard or favorite item the user has saved after that the user needs to select the desired item with the stylus or the mouse.
Setting Menu
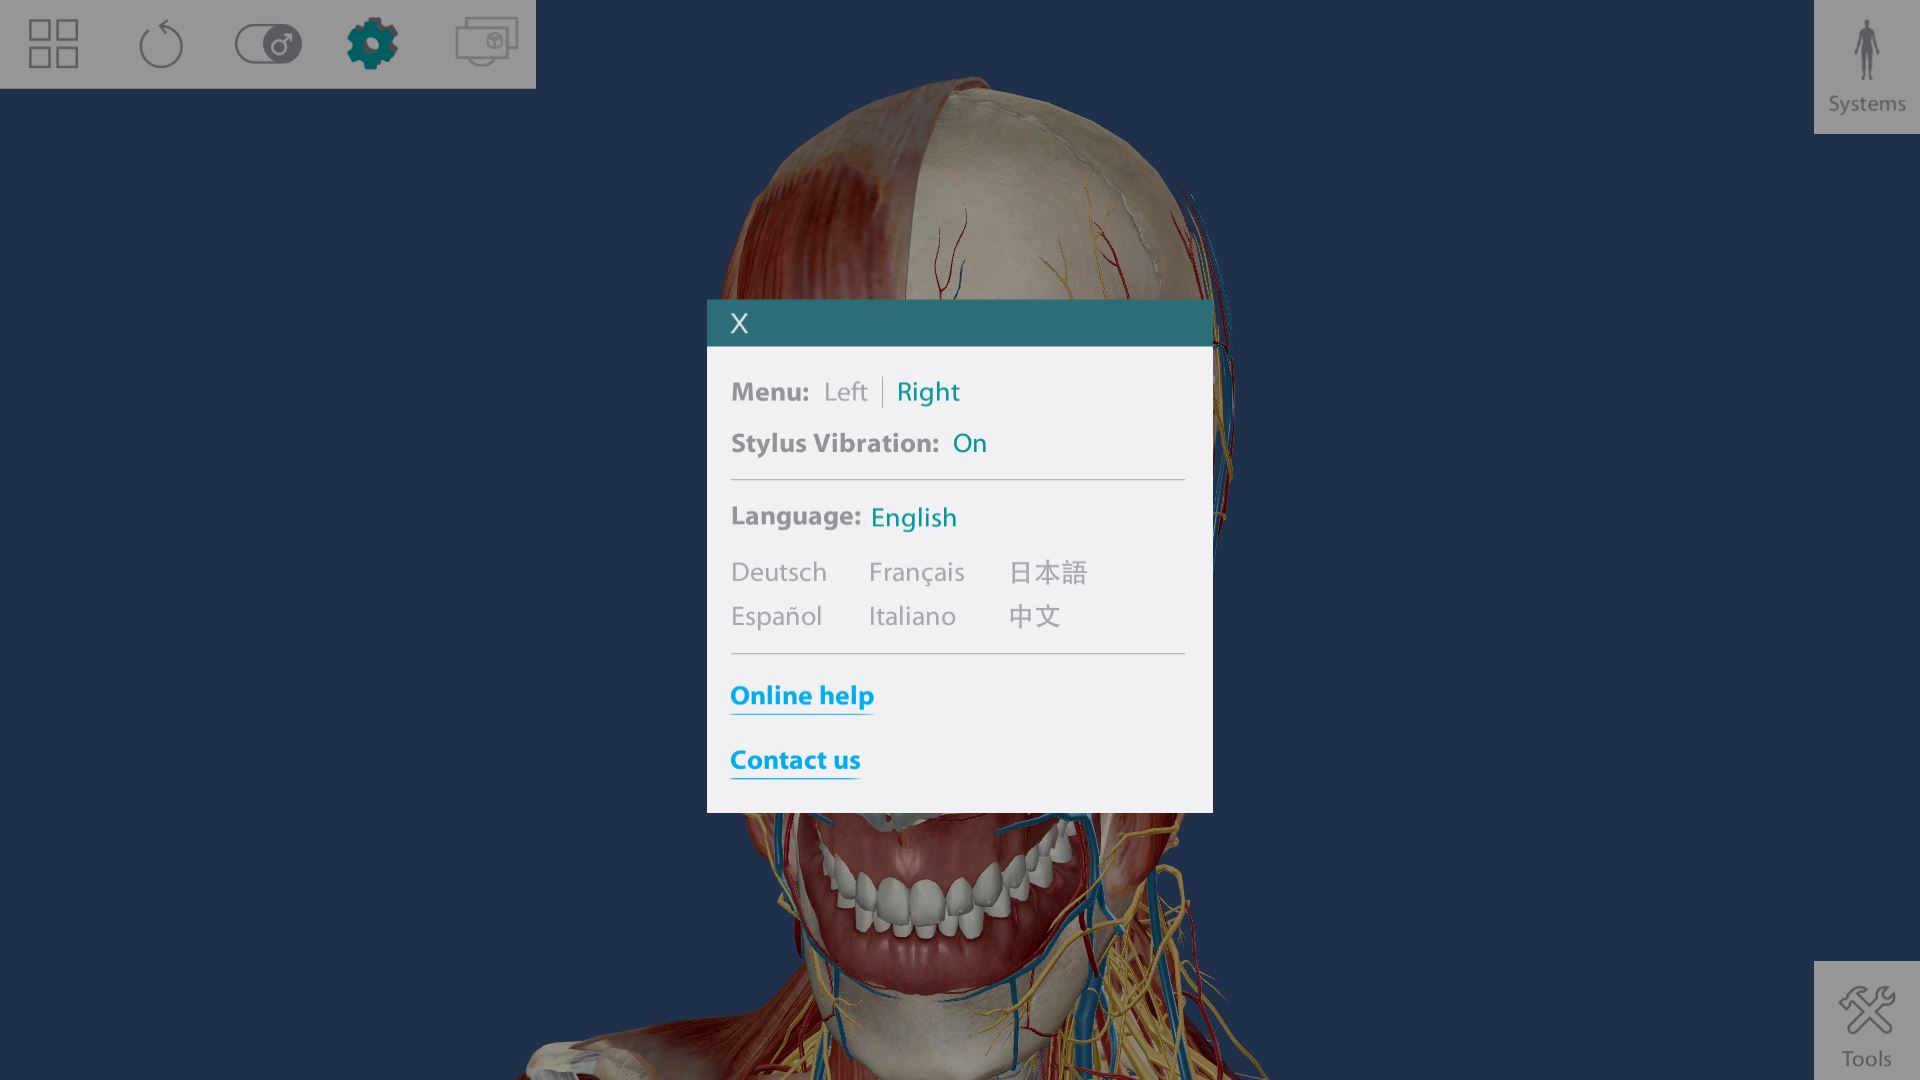
Within the setting menu you can select you dominate hand, turn on or off vibration, change language, find help online and contact the support team